How to Build an Igloo

We're sharing this igloo building video from the Southern French Alps.
Happy trails and we hope to meet you in the mountains for fun, memorable, and safe experiences!
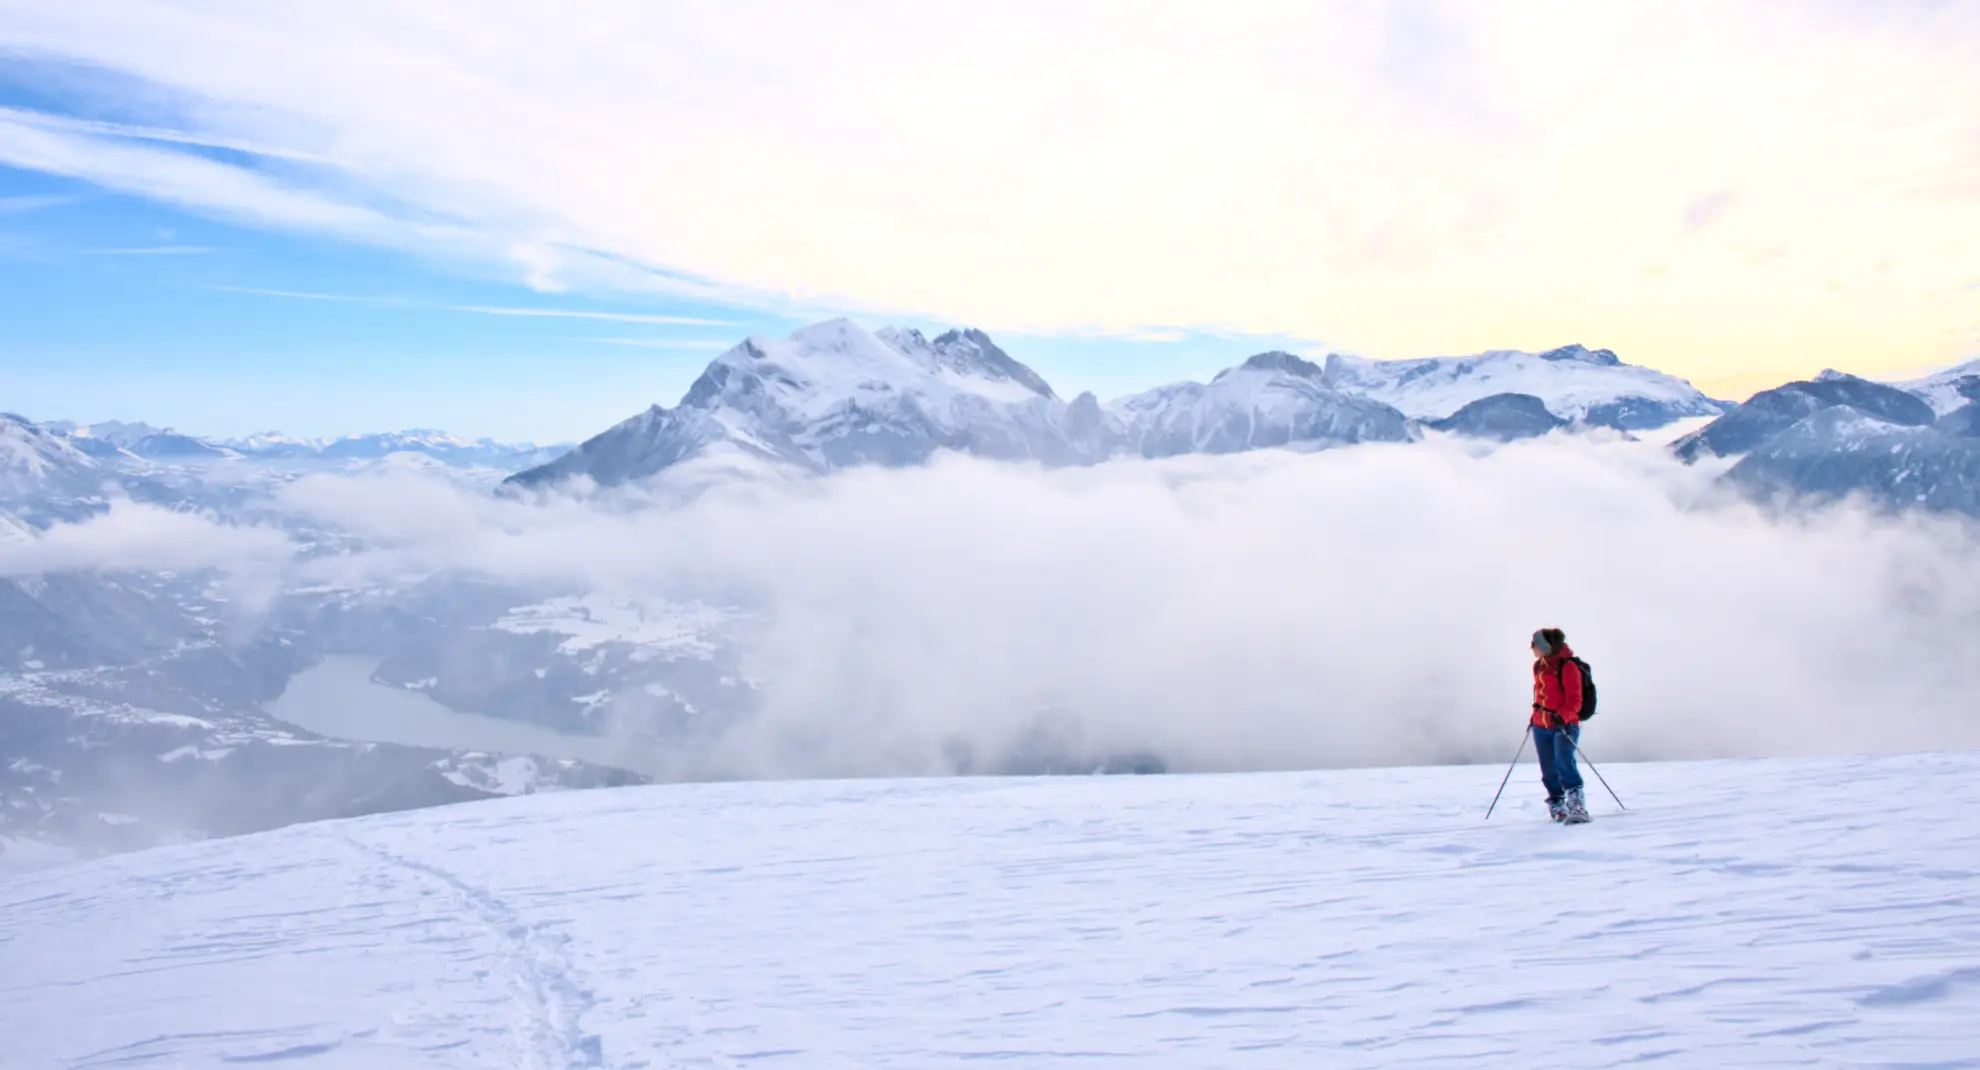
Whether it's snowshoeing, sleeping in your own igloo, or hiking the majestic peaks of the Écrins National Park.
Learn more about the igloo building experience
1. Find the Right Spot with Good Snow
For this, we invite you to the Southern French Alps.
We're based halfway between Gap (capital of the Hautes-Alpes) and Grenoble (capital of Isère).
The advantage of this corner of the Alps compared to Chamonix or Haute-Savoie: 300 days of sunshine per year.
Building an igloo is wet work. Enjoying the sun's rays is a real plus.
Of course, sometimes the sun plays hide and seek behind clouds, and you'll need particularly adapted equipment: gloves, hat, warm jacket (like a down jacket), and most importantly, dry clothes to change into.
See our recommended gear list for winter bivouac.
2. Trace the Igloo Perimeter in a Circle
Once you've found your ideal spot (we love views and open spaces), mark out the igloo's circumference. For 2 people, a 3-meter diameter is a good starting point.
For 12 people, we adapt to the terrain and build either one giant igloo or 2-3 smaller units.
The more people building, the easier it is!
3. Start Making Bricks for the First Row
Using shovels, saws, or molds depending on the snow conditions.
What's the Perfect Brick Size?
It depends on the snow: its cohesion, weight, moisture content... and especially the size of your arms.
If you're with children, go for smaller bricks (20×30cm).
If your team is built like rugby players, then go for big, beautiful bricks.
4. Once Done, Cut This First Row in a Spiral with an Inward Angle to Create the Dome Curve
Otherwise, you'll end up with a tower (of Pisa). Because a picture is sometimes worth a thousand words:

5. Continue Stacking Bricks Before Placing the Keystone
Before nightfall, ideally.
Otherwise, like us, you'll finish by headlamp.
Once the keystone is placed—the final brick that ensures the structure's solidity—we can start dreaming of a little raclette by the fire.
But first, time for finishing touches!
6. Finishing Touches: A Door, a Porch, and Final Floor Leveling Inside
A porch limits wind exposure and has both aesthetic and practical benefits.
Our advice: settle in for the night while you're still warm. Inflate the mattresses, decompress your sleeping bag, and most importantly, change into dry clothes now that the construction is complete.
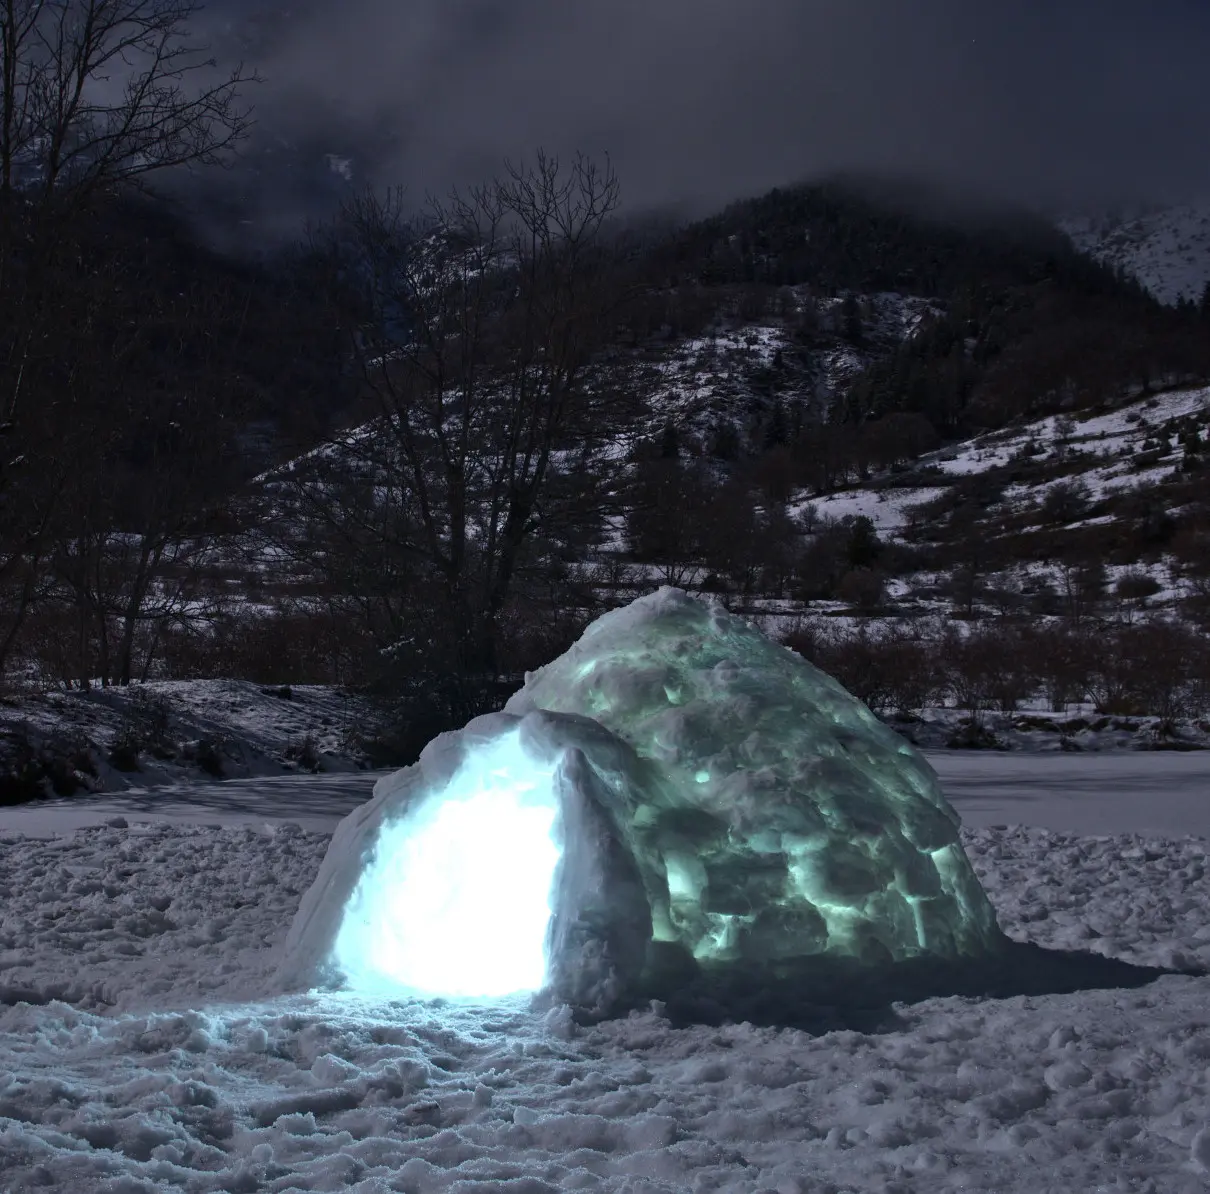
Your night under the snow vault of your igloo awaits.
Construction Variations: Quinzee and Russian-Style Igloo
In the video, we discuss these alternatives.
Here, we've detailed the steps for building a brick igloo.
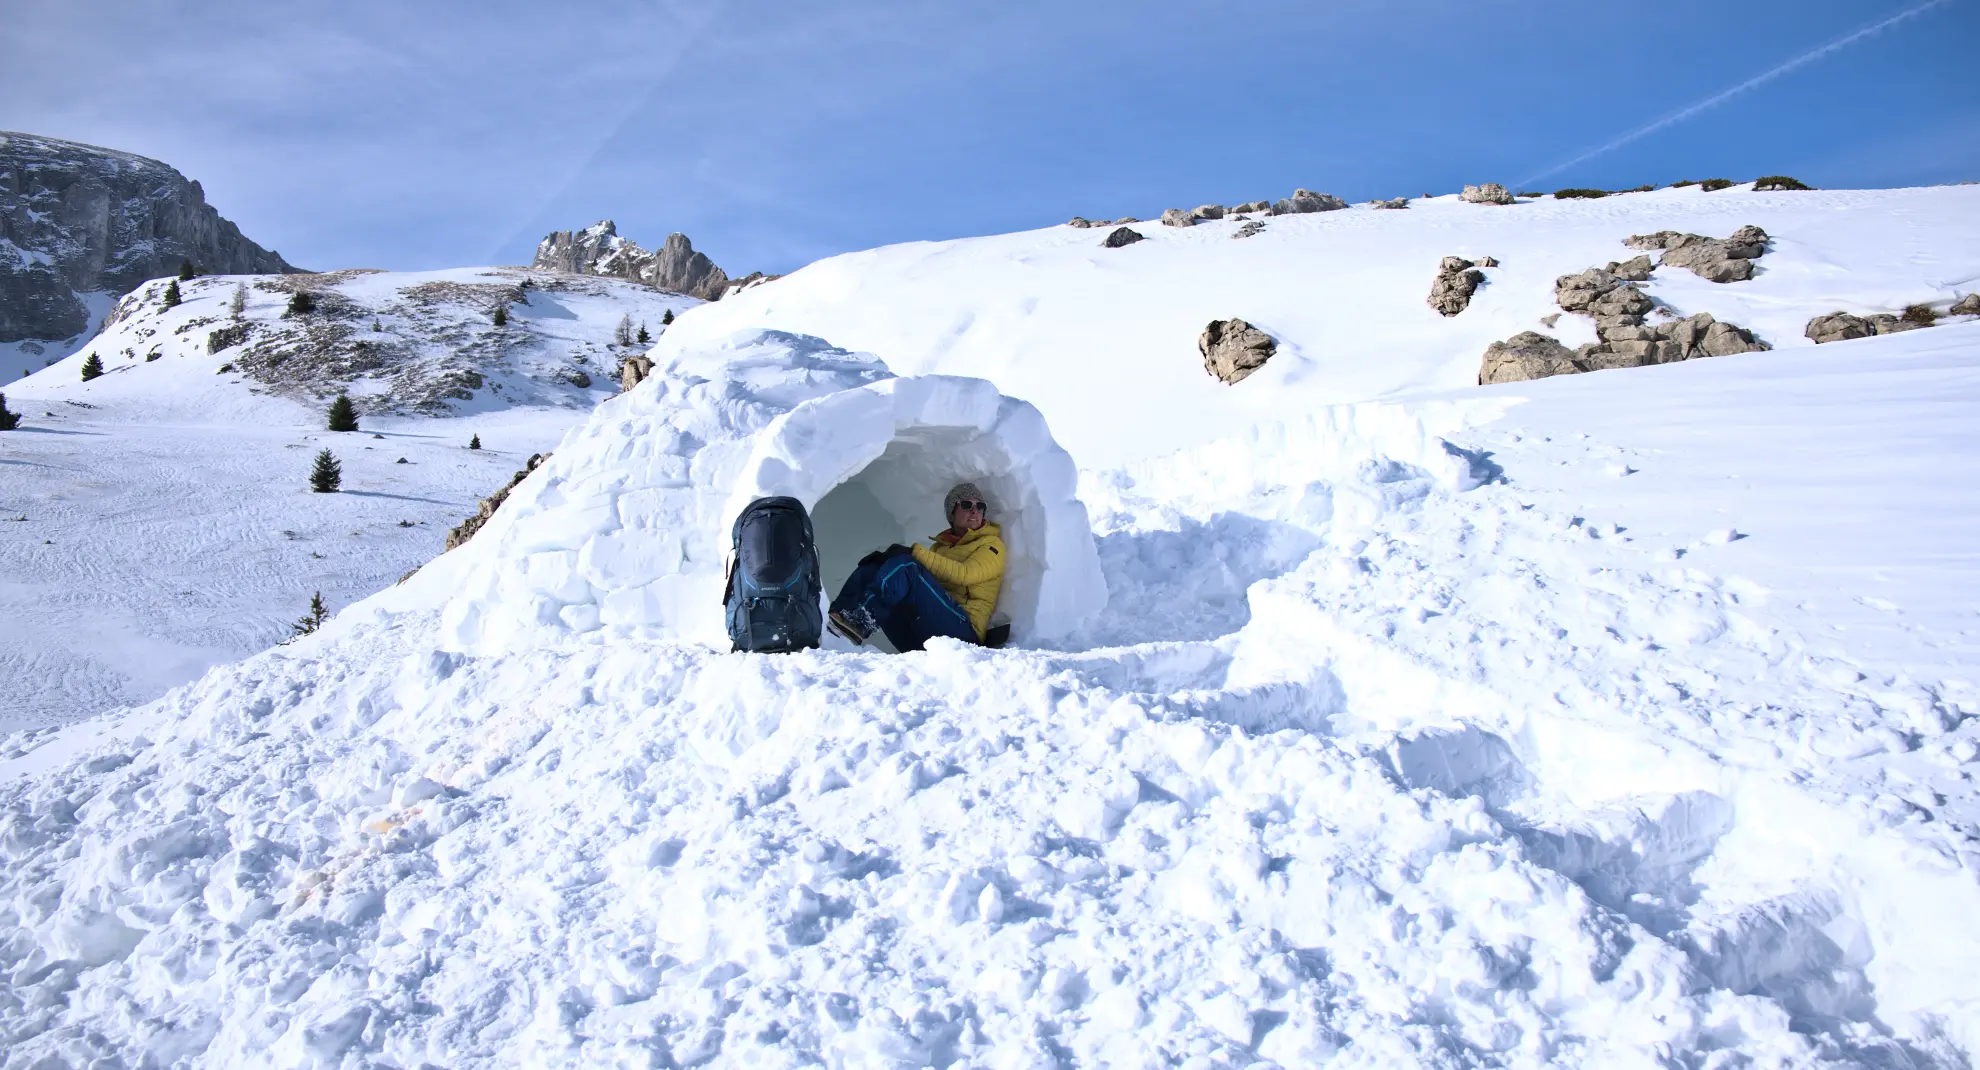
Depending on the snow conditions, you might need to build a quinzee-style igloo (also called Norwegian or Russian igloo):
- Make an enormous pile of snow
- Dig tunnels inside
- Change clothes before turning into an icicle (this technique gets you very wet)
The most efficient approach is finding an existing snow pile accumulated by wind—a 5-meter deep drift. We estimate drift height using an avalanche probe.
What Equipment Do You Need to Build an Igloo?
- Snow-appropriate clothing: ski pants, warm waterproof jacket, gloves, hat, and neck gaiter
- Shovel (avalanche-type with telescopic handle fits nicely in a backpack)
- Change of clothes to anticipate the cold moment when your socks are soaked
- Waterproof boots: avoid Gore-Tex and prefer synthetic or leather boots with a layer of waterproofing grease
For the overnight stay, see our gear list for sleeping in the snow.
How Long Does It Take to Build Your Snow House Like an Inuit?
If it's your first time and you're attempting without an experienced guide, plan for a full day.
Here, the two of us took 2.5 hours.
This time varies from 2 to 4 hours depending on the groups we guide and the snow conditions we encounter.
What Temperatures Can You Expect Inside an Igloo?
Outside in winter, air temperatures regularly range from -10°C to -20°C (14°F to -4°F). It can be even colder at the snow surface.
Inside an igloo, air temperature can range from -5°C to +5°C (23°F to 41°F).
The more people inside, the faster it warms up.
Can You Make a Fire Inside an Igloo?
Lighting a candle works. For a campfire, smoke evacuation (which is toxic) works better if you're outside the igloo rather than under it.
What's the Minimum Age for Building an Igloo?
From age 3, children can enjoy the fun of team construction with friends or parents.
From around age 8, kids are old enough to try sleeping overnight in the igloo.
From age 17, you can even build an igloo as a Team Building activity. It's an excellent cooperation experience to ensure a warm night... and moments that will be remembered forever.
Schools and youth groups can also come build igloos with us.
In short, building an igloo is accessible to almost everyone. We offer this activity primarily in the Southern French Alps, between the Écrins National Park and the Dévoluy massif.
Leave a Comment
Also Discover in the Alps
 France | Alps
My first night in an Igloo
From $273 – 2 daysReady to build your own igloo in the wilderness and sleep in it warmth. An experience to share with family or friends in the Alps.
Know more →
 France | Southern Alps
Snowshoeing tour with a night in a hut
From $263 – 2 joursAn immersion in the heart of the snowy Alps for a night at altitude in a mountain refuge.
Know more →
 France | Alps
Snowshoeing & Winter Bivouac
From $263 – 2 joursConfront the challenges and risks of the cold, learn to progress in safety and sleep one night in the snow... A whole program for this winter adventure.
Know more →


- Altimood Mountain Guides›
- Snowshoeing Alps›
- Night in Igloo›
- Build an Igloo